- In the toolbar at the top, go to Data > Rooms.
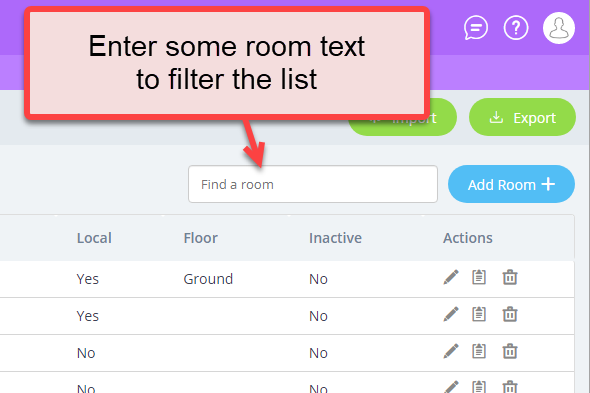
- Find the room in the list below: you can type part of its name in the search box at the top to filter the list.
- To edit the room, under the Actions column on the right, select the pencil icon.
- At the top of the form, select Rules.
- The Inactive Dates can have a future start date, and/or a stop date.
Select Now to enter a start date.
Select Indefinitely to enter a stop date.- Start Date Only – The room will be inactive from the start date onwards
- End Date Only – The room will be inactive from now until the end date
- Both Start and End Date – The room inactive period will be bound by the date range set from the start date until the end date.
To remove either start or stop dates, just delete the date text.
- At the bottom right of the form, select Update Room.